For this project, I created a program that tests a player's vital capacity. In able to proceed the game, a player must blowing to the microphone on the device NONSTOP. The device will track the data until the player stops and displays a score.
HOW IT WORKS:
The setup of the game is pretty simple. We have rows of LED's that attach to different digital pins on the arduino. Then we have a microphone that also attaches to the arduino on the analog side. Whenever the player blows to the microphone, arduino will start calculate the threshold and add up the player score. As the game score increases, more blocks of LED's will light up. The game ends when all the LED's light up meaning that the player has passed the current stage. The game will also end when the player pauses or stops blowing to the microphone.
This is a blog post that is about the design of a alternative game interface for an Arduino using one of the following list of items:
spandex
dried bean/s
plushy bat doll/s
yarn
cabbage/s
lab chair/s
padlock/s
magnifying glass/es
paper clip/s
My idea is to use a magnifying glass to play a brightness "match up" game. The setup will consist an arduino, a LED light, a photo sensor, magnifying glass and resistors that goes with the setup. The LED lights will have 4 different brightness mode. When the LED lights, the player will turn the magnifying glass so that the focal point of the light is on the photo sensor.
In the beginning of the game, the player will go through a "tutorial" by walking through the player on calibrating four brightness modes. When the game starts, the player must adjust the magnifying glass as fast as possible to match the brightness of the LED light.
The game will also support multi-player by having multiple rows of LED's installed. Each player will pick a spot (row of LED's) and take turn on playing the game. The higher score a player gets, the more LED's will light up on his/her row.
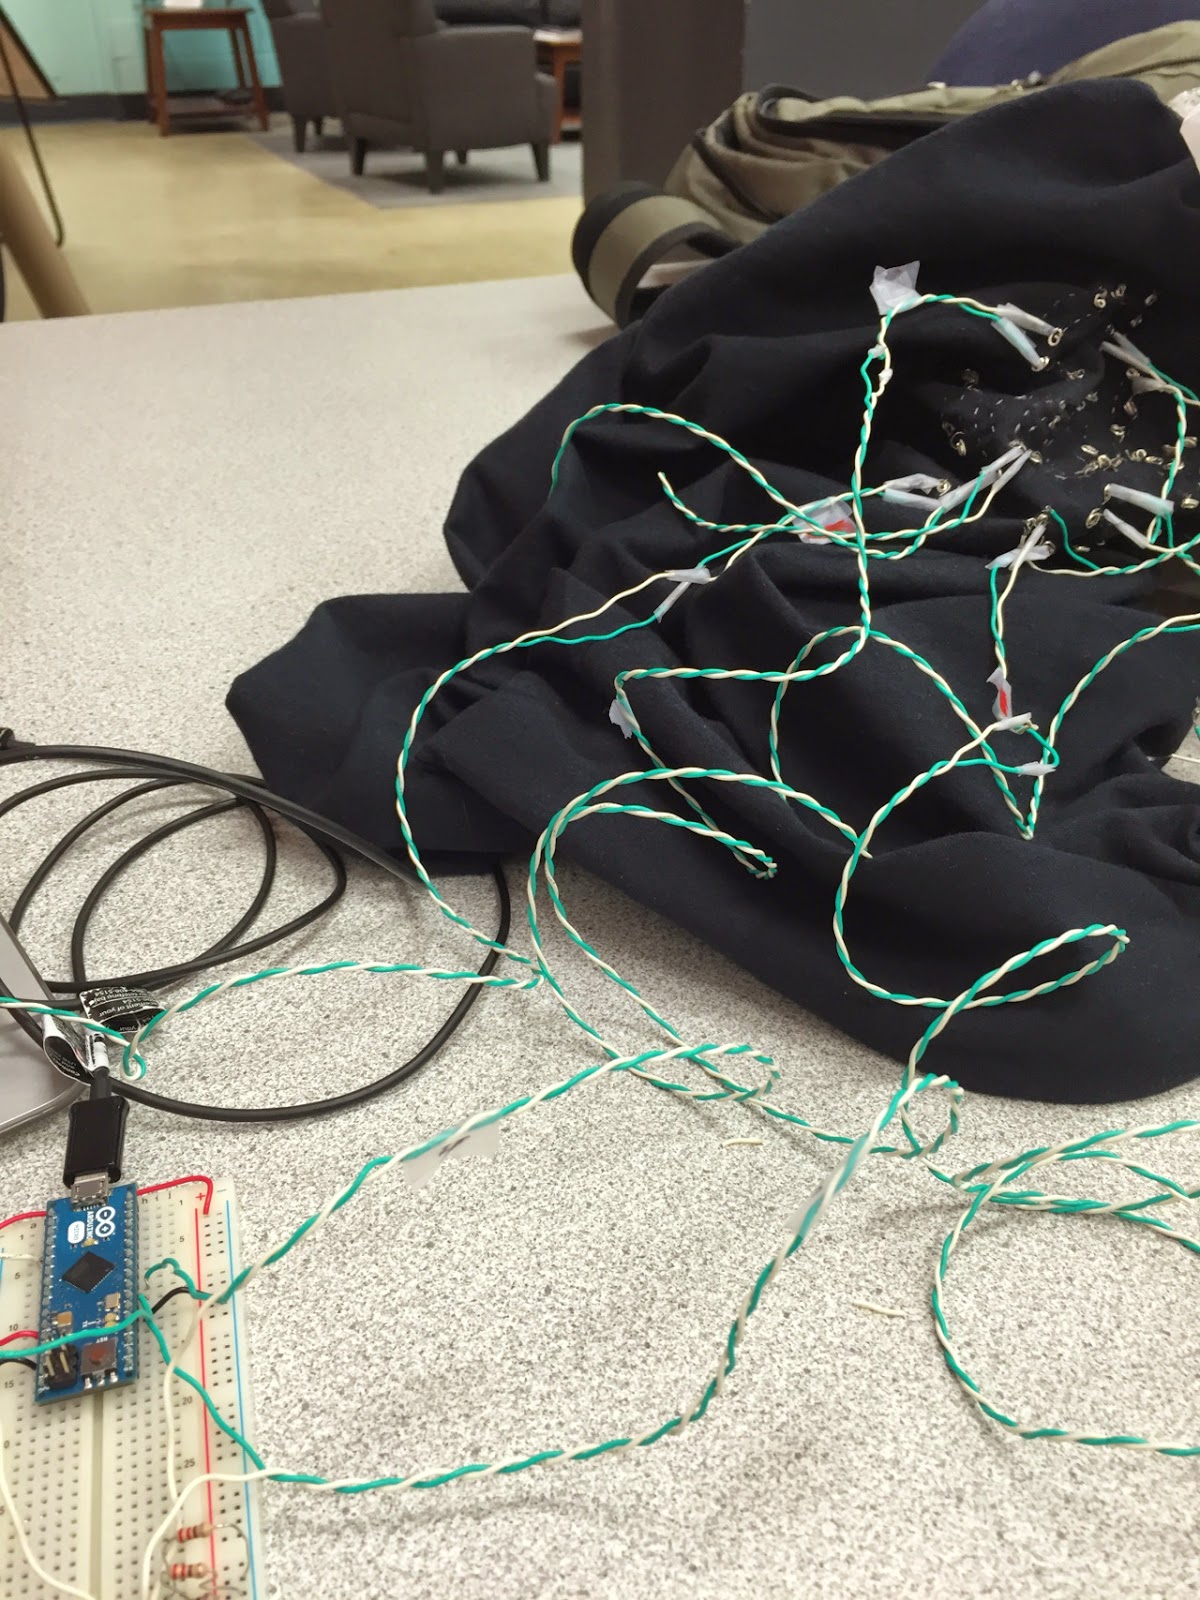
For this project, we're thinking to make a glowing shirt that synchronizes with the user's heart beat. Initially we're thinking to have a switch that switches from different glowing modes. However due to the limited pin numbers on arduino and the way we wire the LED lights, we eventually turn the functionality off. Gladly, we have one of our glowing pattern works - which is our project.
MATERIALS:
Piezo Fiml Sensor
15 LED's
Conductive thread
Tape (an easy way to wrap exposed wires)
Twisted pair wires
200k resistors
Arduino micro
HOW IT WORKS:
The Arduino receives it's data by attaching a Piezo film vibration sensor to the users wrist using velcro. The sensor is attached to the analog pin of the arduino so when the application runs, the vibration on the user's wrist will act as the "pulse". Every time a pulse data is received, the arduino will light up the LED's that are sewed to the shirt.
Every three (some are four) LED's are linked together using conductive threads and merged as one "pin" on arduino (so 3 or 4 leds will light at a same time).
The hardest part of the project will be swing on all the LED's to the shirt and make them into circuits. This takes up our majority time for development. Additionally, the variability of the vibration sensor is also very hard to control. Piezo vibration sensors are highly sensitive. This makes a tiny move on the hand also a "pulse". We had to convert the data from the Piezo sensor and find the threshold among all the data that are been collected.
Overall, this wearables project was a fun experience, as I got to not only do some programming but also a lot more constructing and wiring work than I have ver done in my college career. Hopefully, I will have time to update and improve this project, but as of now, this is more of a prototype or proof of concept nonetheless.
Here is a working result of our heartbeat visualizer T-shirt.
Requirement: Use Arduino inputs to control LEDs in a non-trivial way.
My idea for this project is to create a two-player game. When the game starts, each one of the players will control the buttons on each side of the LED patterns. A "box" will appear in the center of the LED pattern, and each one of the player need to press the button to "push" the box to the other player's side. When the box is pushed all the way to either one of the end, the player on the other side of the LED wins.